Not too much detail to go into here. It’s wood. It needs to be cleaned up. The only real question was weather to treat the wood at all, other than a bit of cleaning.
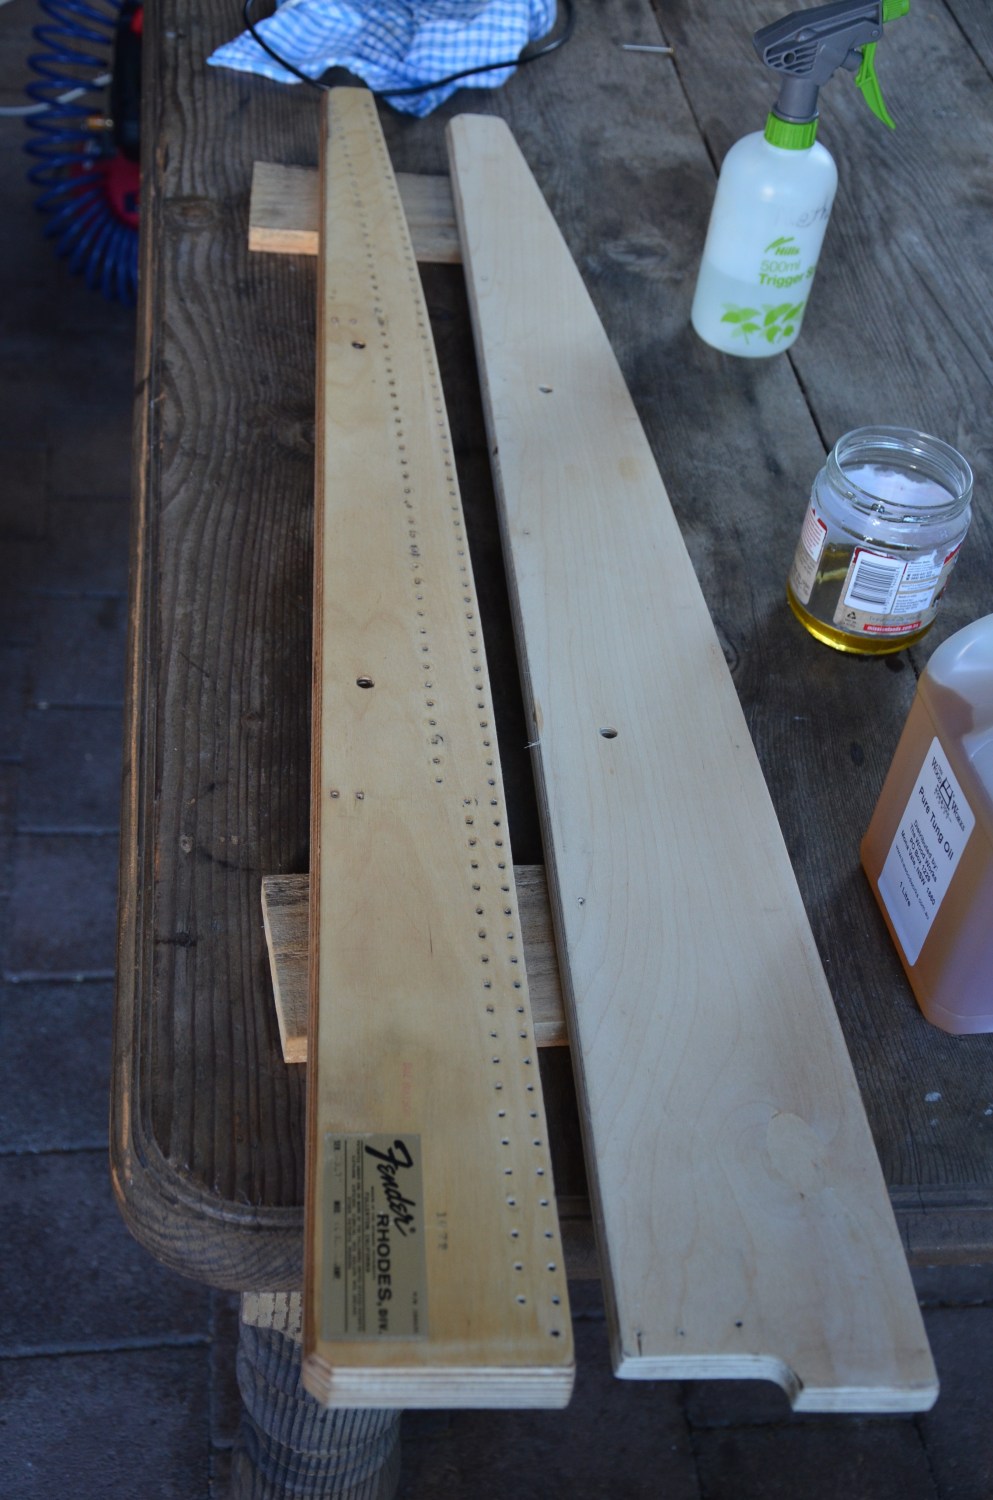
The original manufacturing process left the wood natural, but it seems that a lot of people are now staining the wood when refurbishing their pianos. There are numerous arguments about whether one should leave these things original or not. In the end I decided to stain the wood with tung oil, which adds a nice light brown tone, and hopefully should protect the wood for the years to come. It also won’t significantly alter its appearance. This piano’s already 43 years old – I’d like it to make it to at least 80 without needing another overhaul.
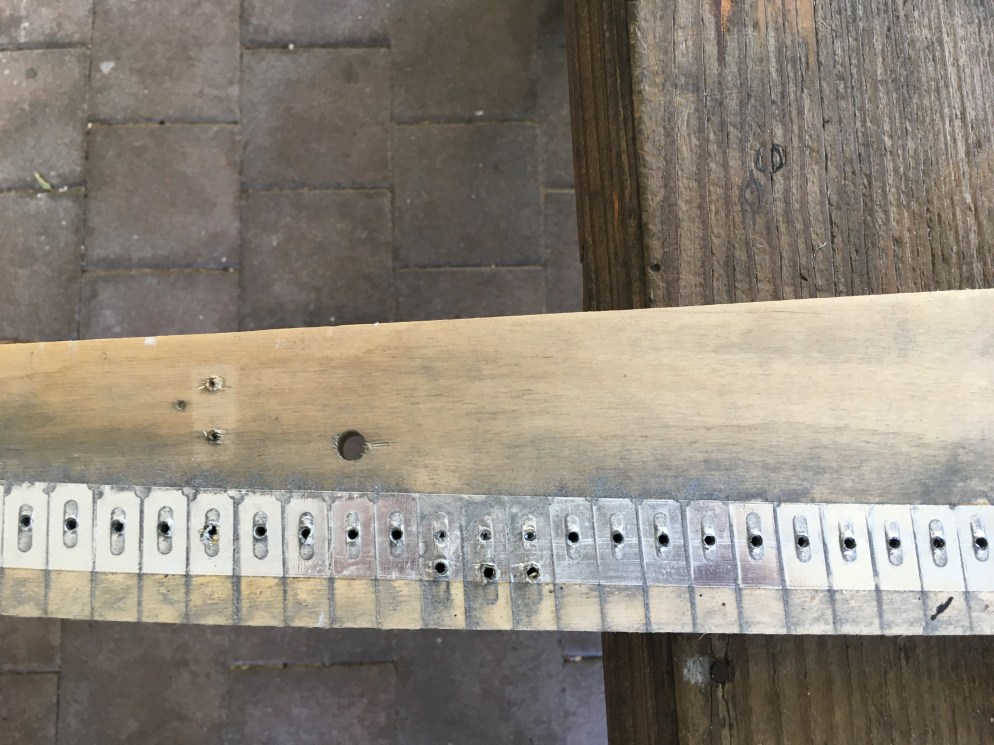
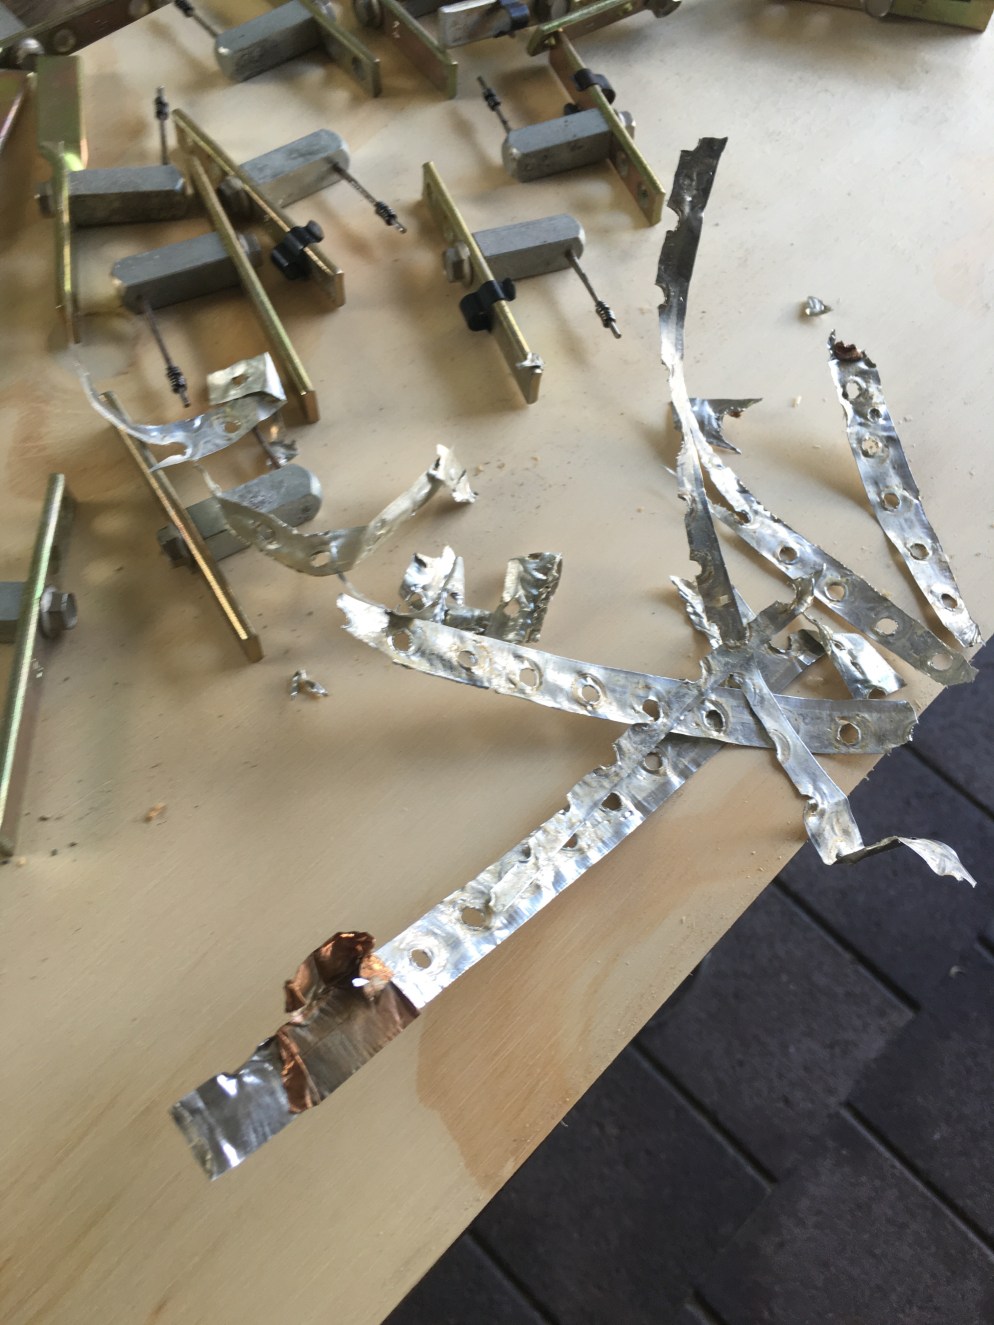
Existing conductive foil, along with muck from cleaning the pickupsOld conductive foil removed
The wood’s not in terrible condition. After removing the old conductive foil, and most of the associated residue, it was given quick wash with some metho to get the last of the glue. Finally some light sanding was in order.
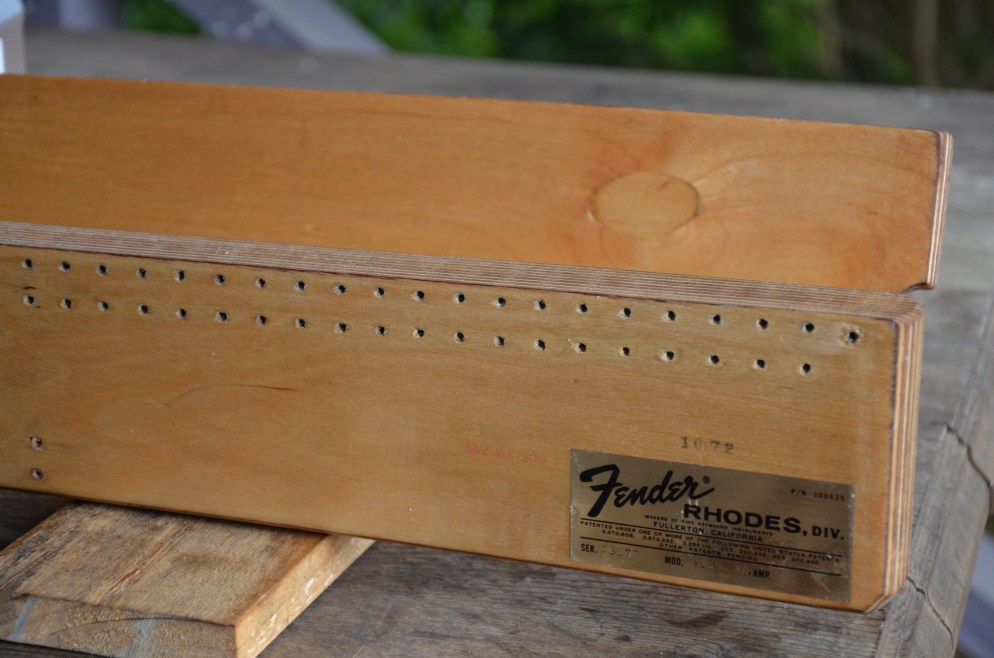
After sanding, one side with a single coat of oil, the other natural stillLooking nice after a few coats of oil. Buz’s stamp is a bit faded but still clear
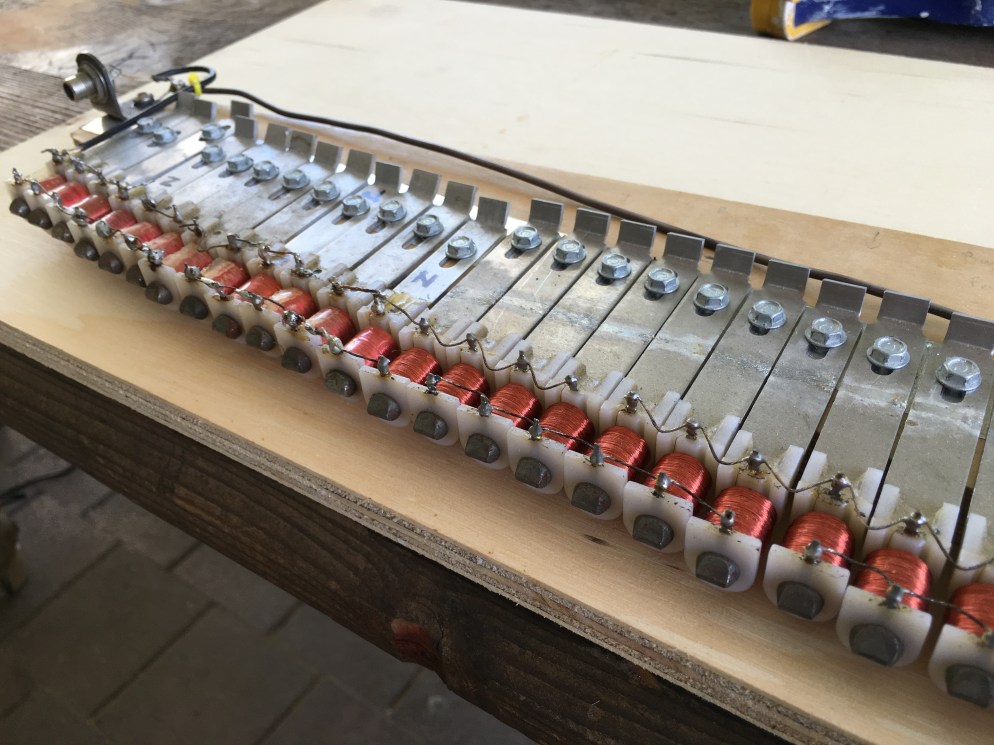
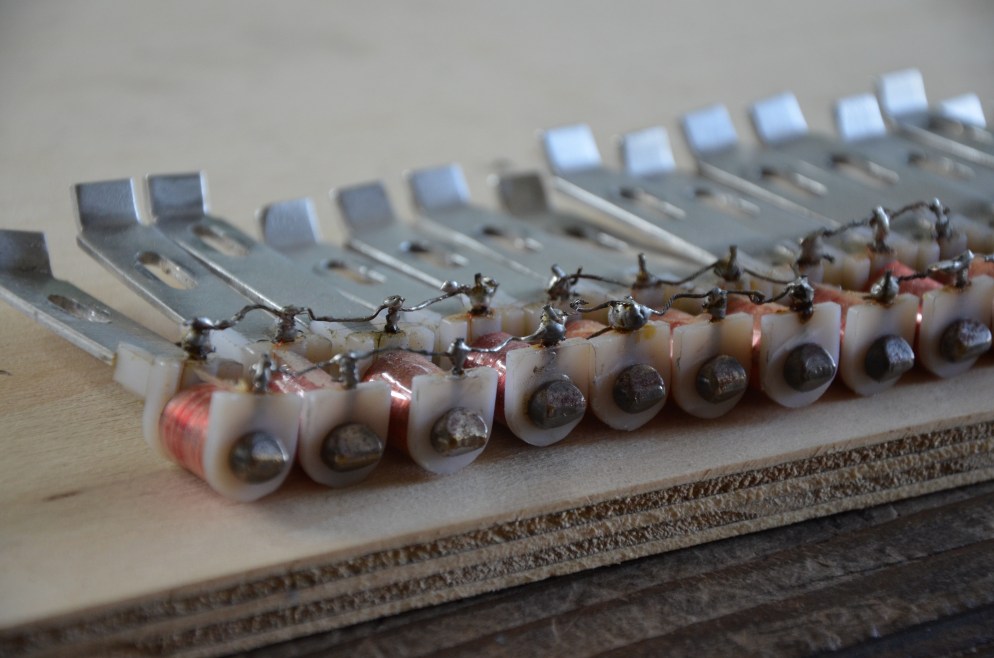
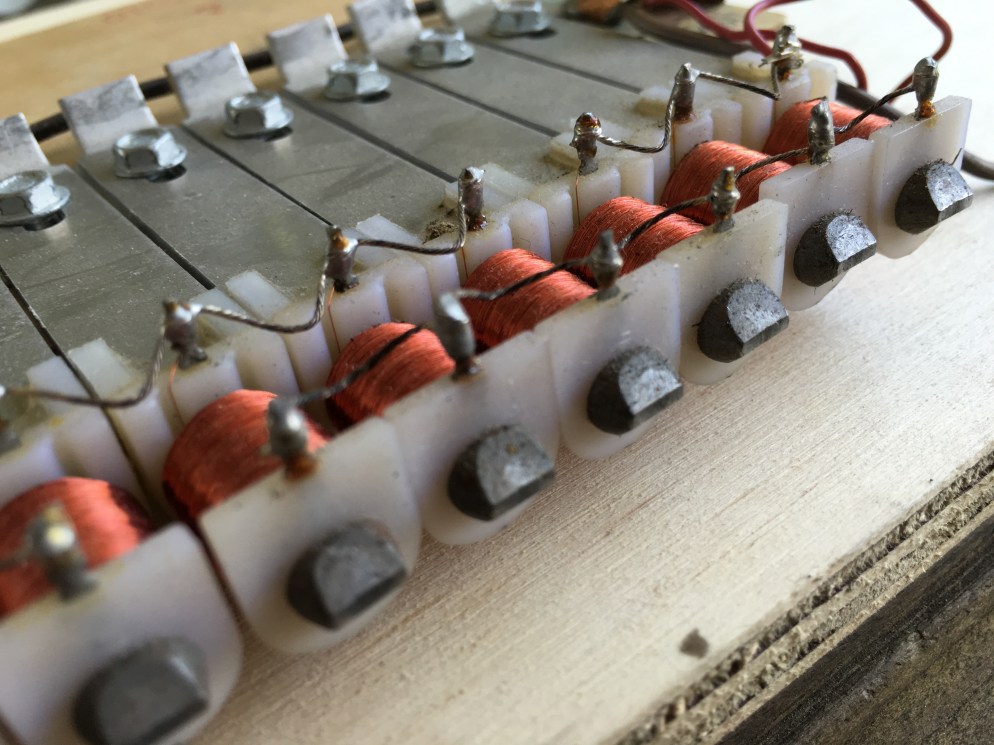
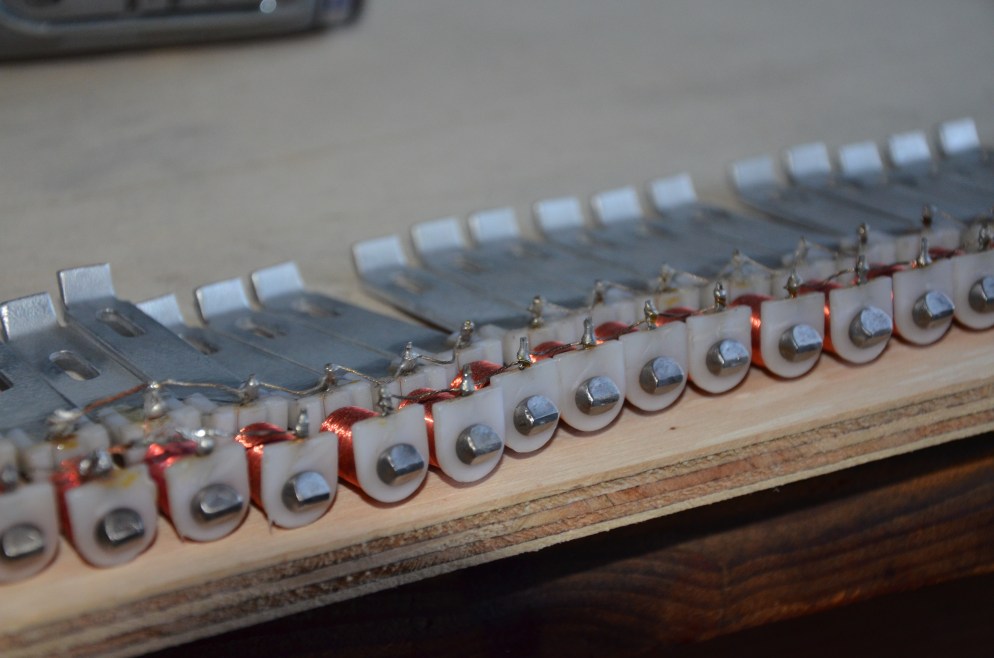
Electrically, the Rhodes is effectively the same thing as an electric guitar, with one dedicated pickup per tine (‘string’). Here’s the pickups before any work was done. They’re not too bad. Most of the corrosion is pretty superficial. The exposed ends of the magnets were pretty corroded and oddly covered with metal dust. Not sure where this would have come from, but either way, if the dust is there, the magnets will grab it.
Also clearly some of the pickups have been replaced with designs from different eras. Note how a lot of the bolts don’t line up. Which means the harp has had a bunch of extra new holes added to accommodate these new units.
The business end looking pretty nasty
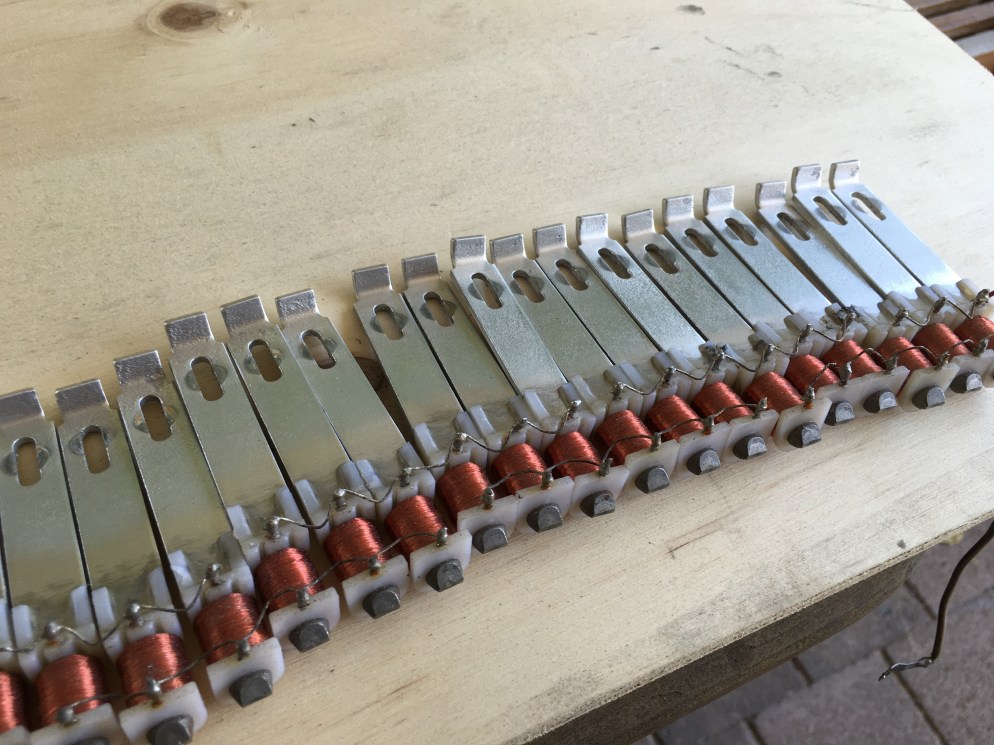
After some furious cleaning with a Dremel and a toothbrush, and a lot of Windex, the brackets are starting to look a lot more respectableThe harp wood after the pickups had been cleaned and removedAnd finally, looking nice and clean after a visit from the Dremel brush and compressed air fairy
A good percentage of the work in getting the Rhodes piano restored is in the harp. It’s the most rundown part of the instrument. It contains the bulk of the metal, and hence corrosion; It’s lived a good percentage of its life in the salty coastal air and will continue to do so. And finally it’s the only part of the job I’m going to employ the services of a 3rd party to complete, so it’s good to get this part underway.
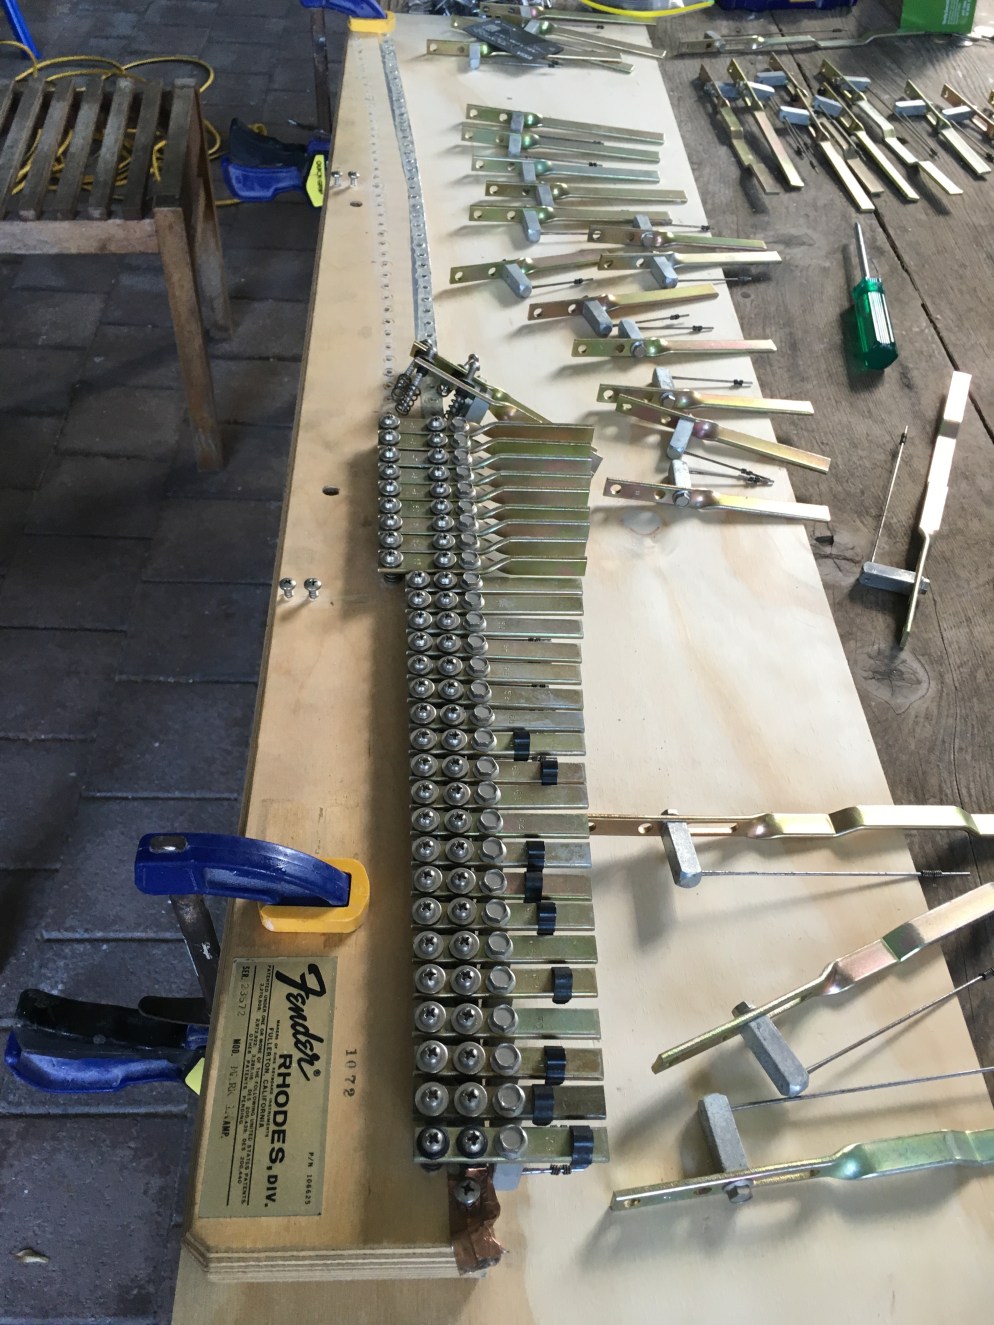
Firstly, lets get the untouched harp into the precision work area (my front verandah) –
Tines and tonebars and pickups, oh my!
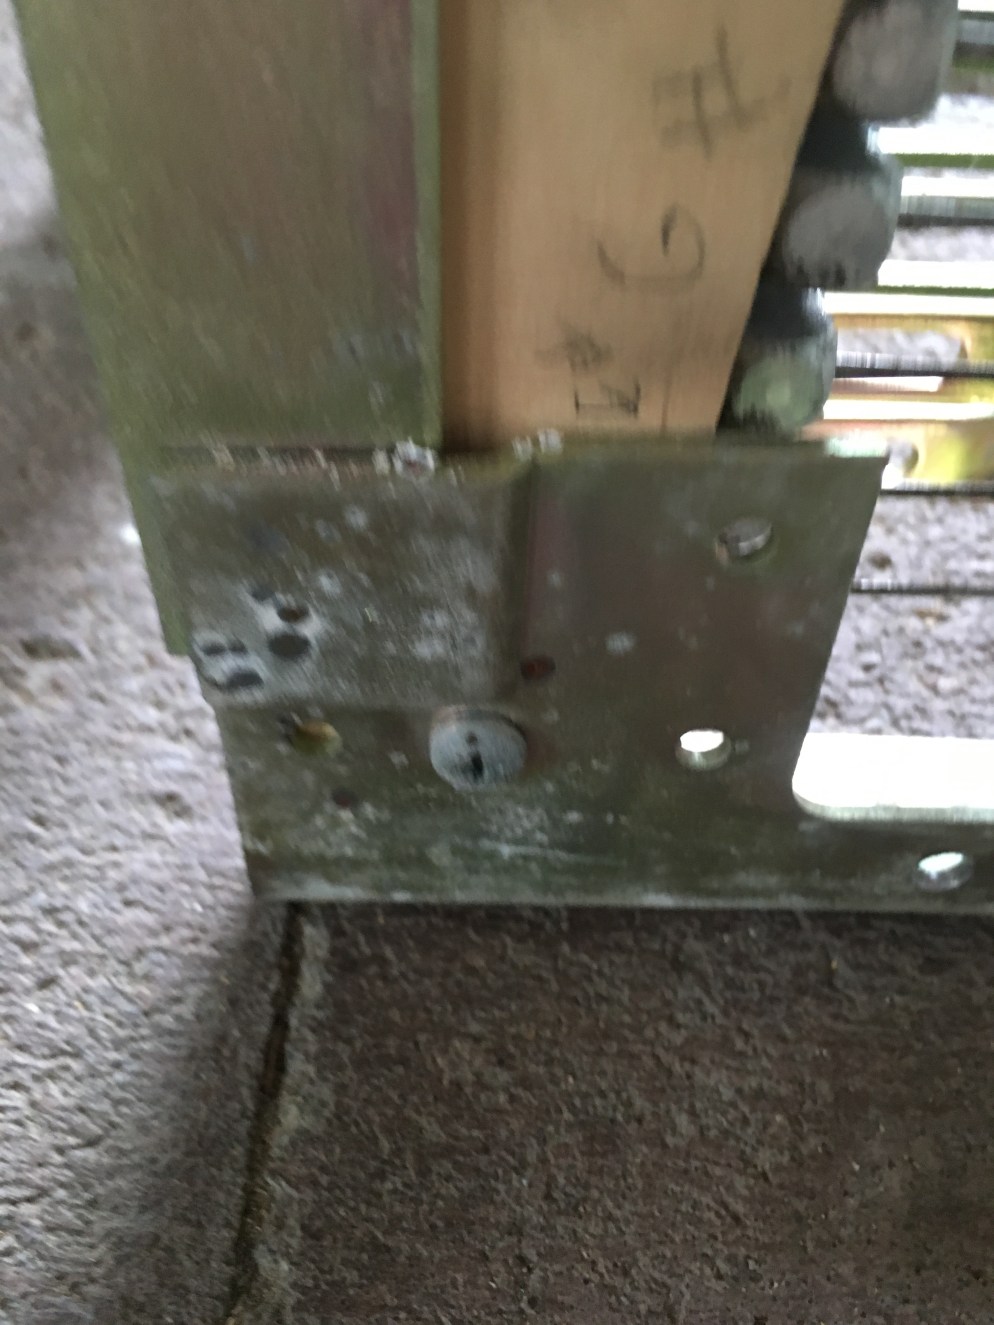
So, lots of metal there. A few select corroded areas –
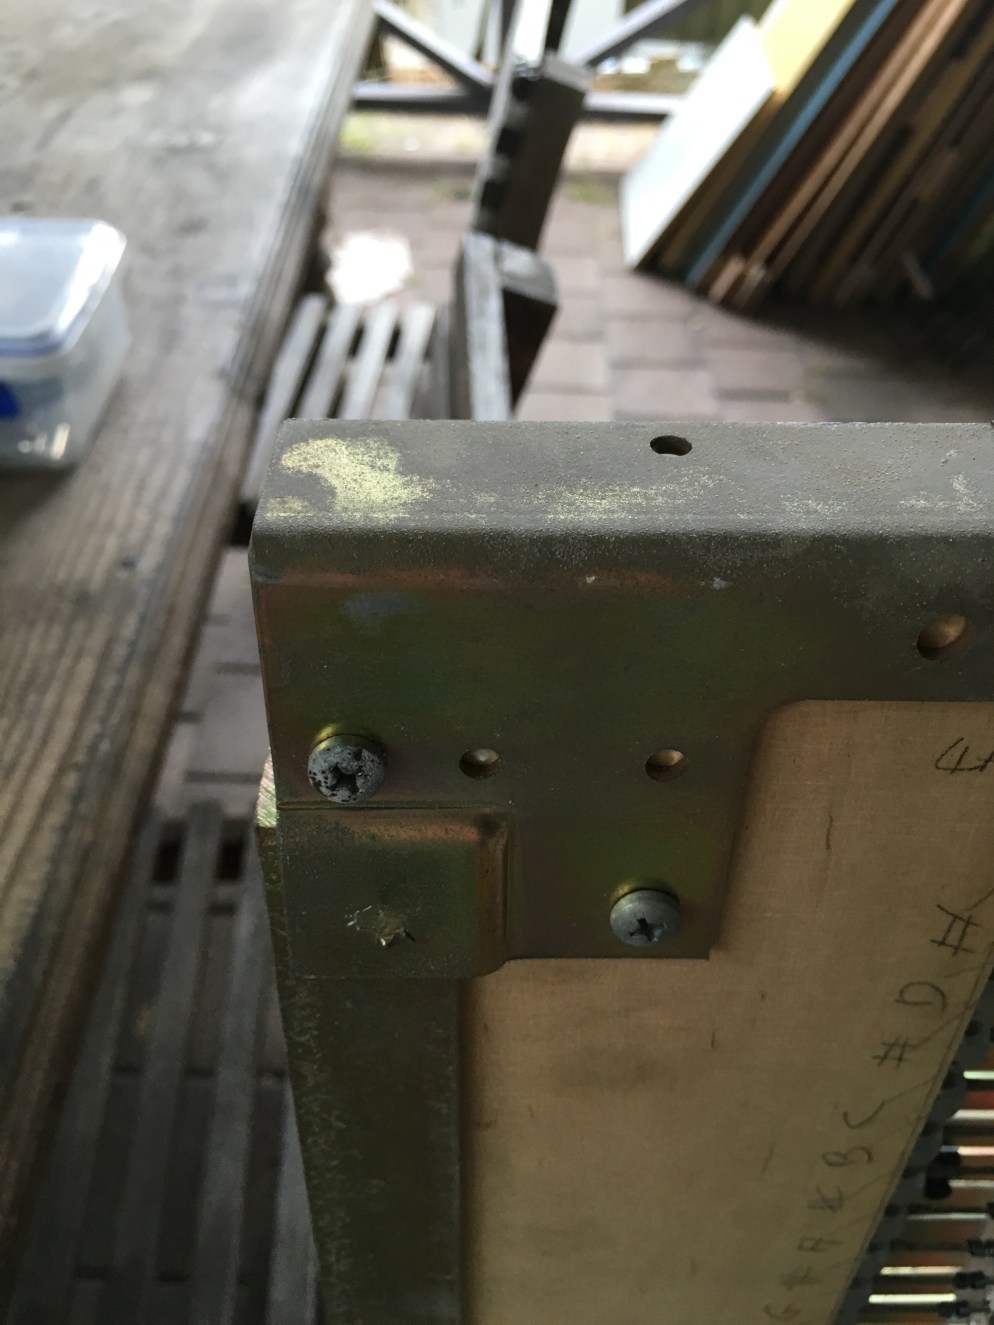
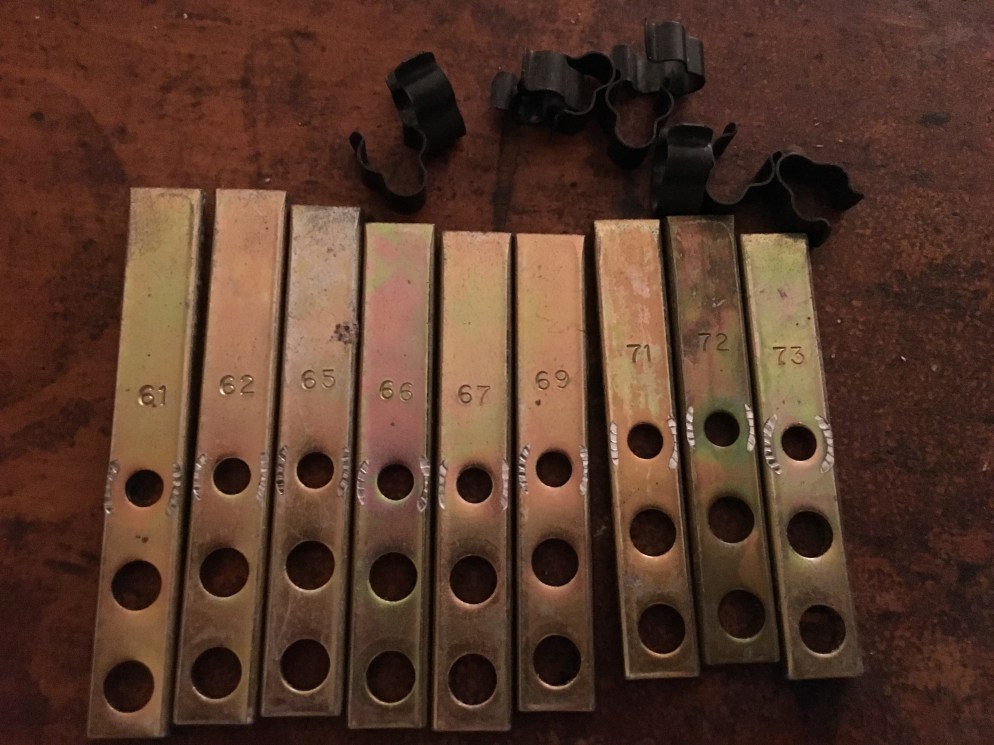
Someone’s helpfully written on the notes, just in case you get trapped inside the piano and have to play a tune to get attentionIt seems this part was so corroded I couldn’t hold the camera still
Tonebar corrosion
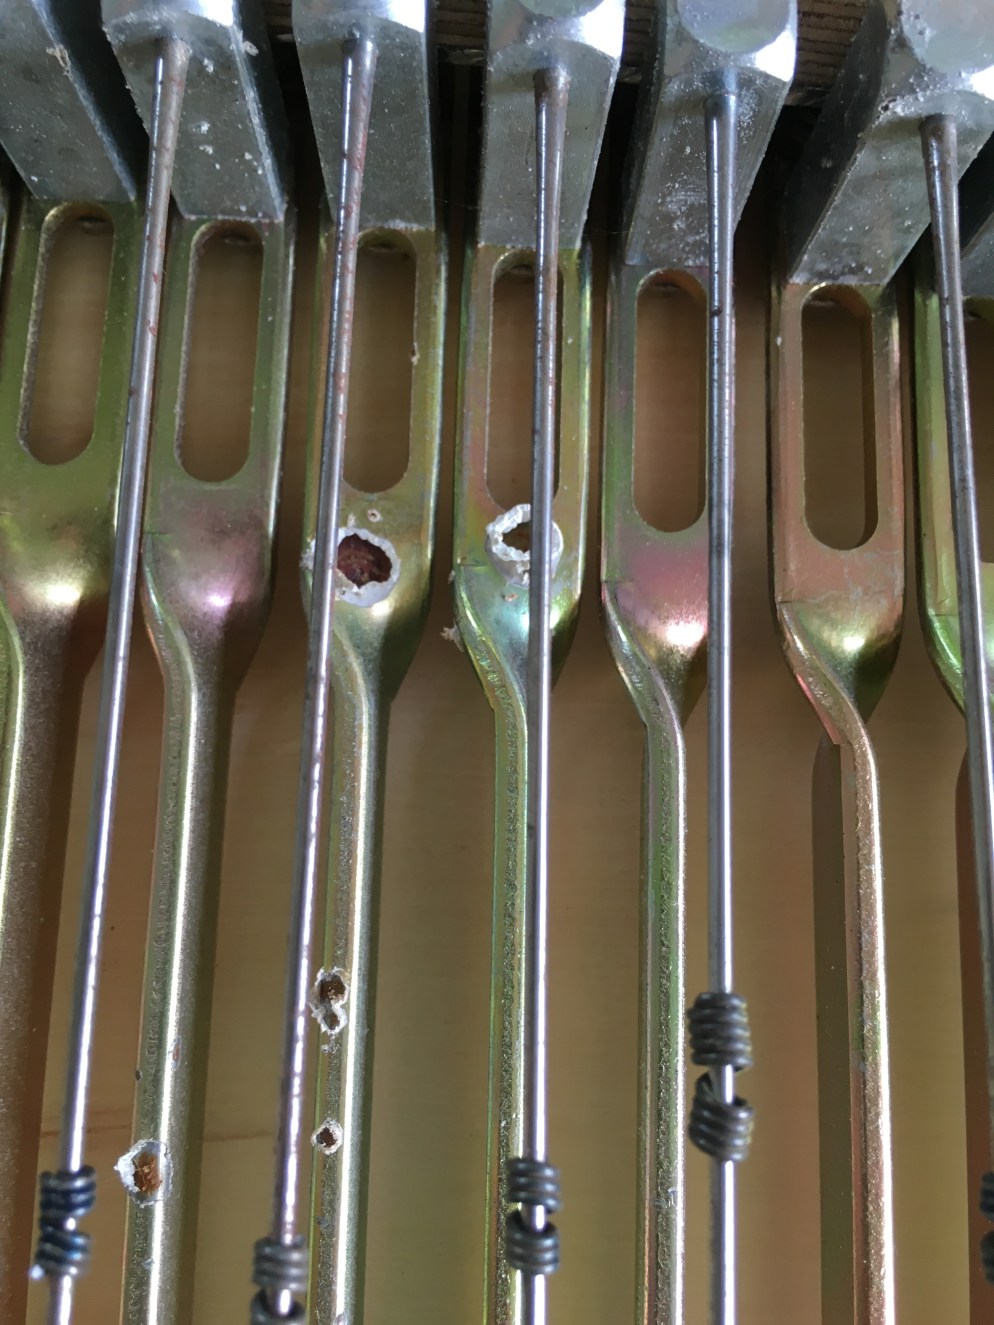
So, pulling the harp apart is pretty simple, it’s really a matter of unscrewing and unbolting everything, and not destroying the pickup wiring too much. Even simpler if you have a socket set – which I didn’t (that was a flimsy enough pretext to later schedule another adventure to Bunnings). Instead, removing the tines from the tonebars involved wrestling with a pair of shifting spanners, which didn’t go so well when the softish tonebar bolts were deformed, no doubt due to earlier tinkerers who similarly didn’t have a socket set. On the upside, no one lost any eyes, which is an achievement given significant forces required, sharp metal, and beer. Some new tonebar bolts are on order.
Partially dismantled harp. Note the tonebar-tine pairs still together.
After all the zinc plated parts were removed – that is the outer frame and the tonebars – they were off to be replated. This involved my first exciting trip to the Sydney suburb of Belmore. It was a hot mid-December day, the feeling of which was generally compounded by the general eau-de-bonkers that commercial districts take on a few weeks out from Christmas. My first impression of the place involved mindlessly staring into the distance whilst waiting for the lights to change and inadvertently fixating on the name of a hairdresser across the road entitled “Who’s hair?”. Because English is stupid, of course, this doesn’t take the expected possessive form but instead actually means “Who is hair?”. Yet another obstacle for immigrants trying to set up a new life and business.
I walked to the metal plating factory with my jangly box of metal bits, distractedly pondering that age old question of who exactly is hair, only to discover that having some kind of marked reception area or counter was not applicable. Instead I just kinda found myself in a the middle of bunch of offices, much to the bemusement of the staff. I’m not sure what constitutes a normal client job in a Sydney electroplating factory, but mine certainly wasn’t one. The staff I spoke to all became flustered when I talked to them, and my job was escalated right to the top. After talking to the manager for a while, got them to take the metal bits and off I went. A few weeks later, I got them back in a similar process.
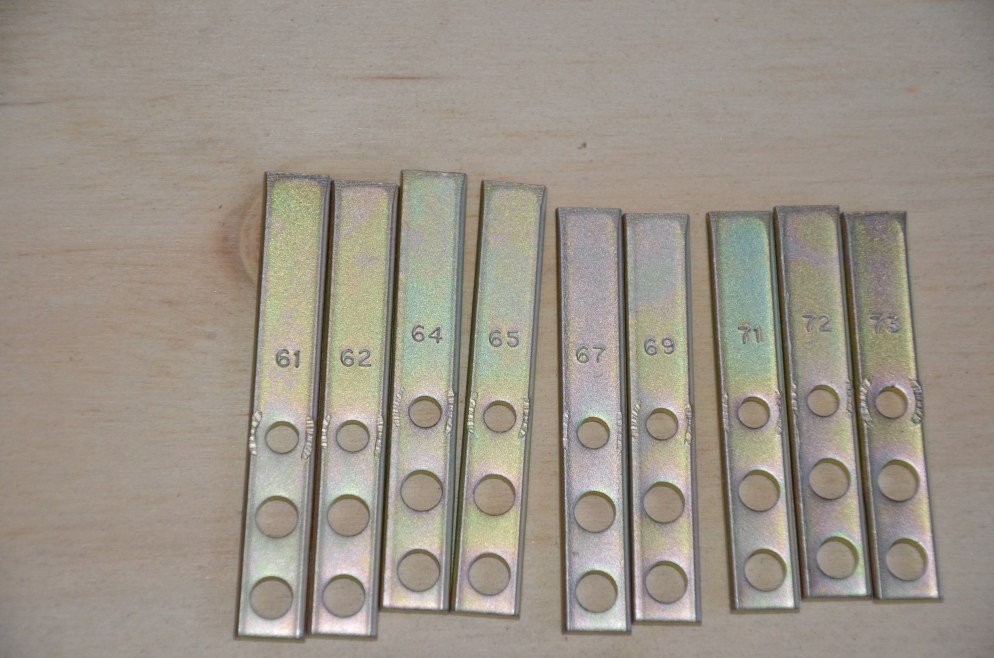
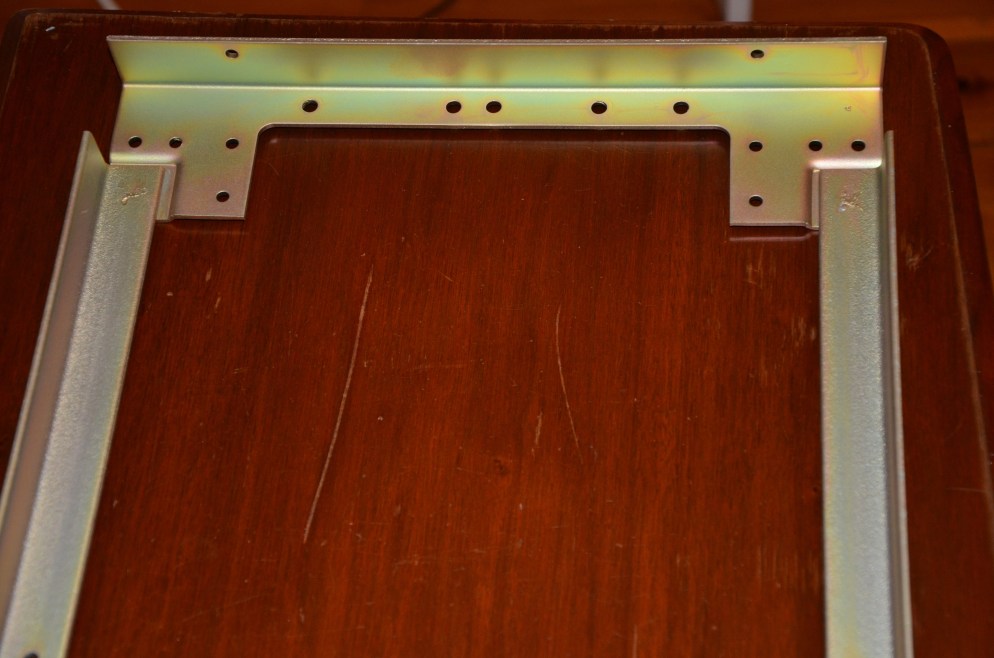
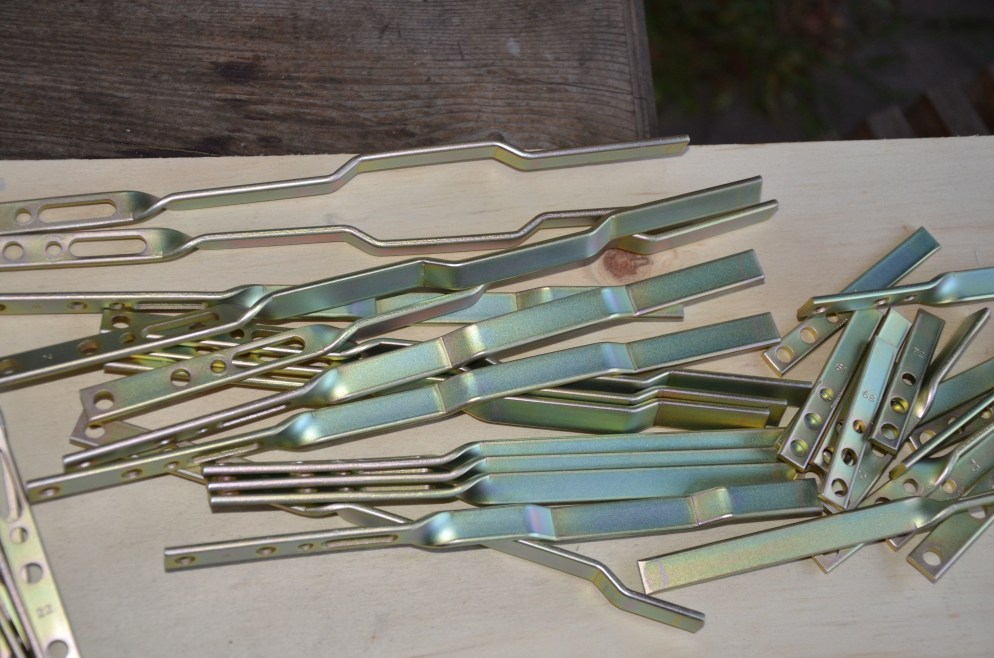
Before. Also apparently before decent lighting was inventedAfter
So all the metal’s been acid bathed, cleaned with some kind of beads (assumedly the abrasive kind, or perhaps just some kind of good luck bead) and then re-plated with zinc chromate (hence the gold colour). It’s all looking pretty spiffy now.
Outer frame after replatingPile o’ tonebars
So now these are back, it’s on to cleaning the pickups, restoration of the wood, and reassembly.